3D Printing in Tinkercad for Those with Prior Class Experience
Please note that this year everyone will be getting a new Tinkercad account. It has already been created for you and is linked to me so I can see everyone's progress. If you are working on this unit and for some reason did not receive your 'nickname' to log in with please message me in Schoology.
When you are ready to begin:
Step 1: Click on the following link to access Tinkercad and enter your nickname: https://www.tinkercad.com/joinclass/3AYZ5DPHFDXF
**You will need to follow those steps to log in again in the future if you get signed out**
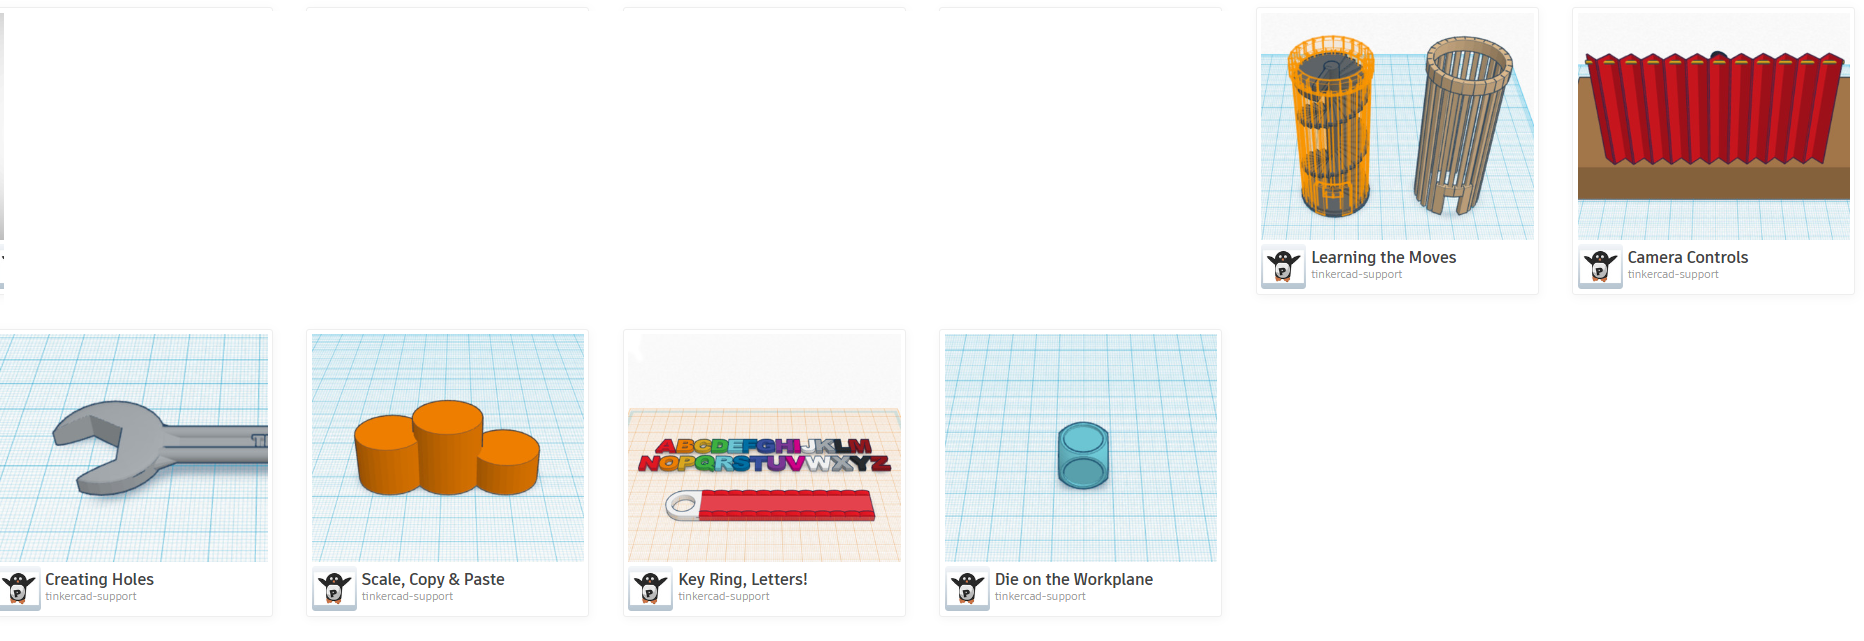
Assignment 1: Complete the six beginner lessons
As a refresher, please complete these 6 lessons. They can be found by clicking the 'learn' tab found at the top right of your screen. Then click the 'lessons' tab and then under 'see all lessons' it will be the last six at the bottom.
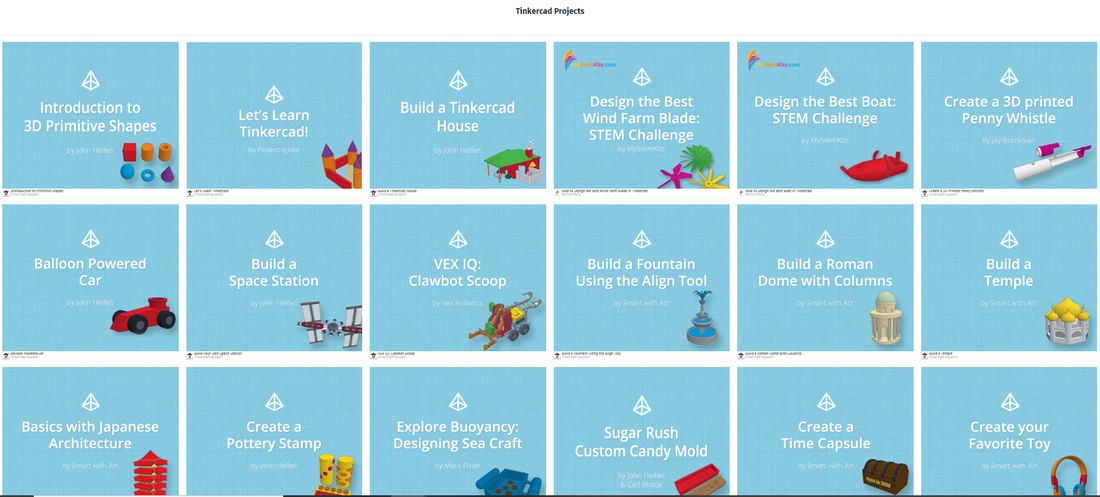
Assignment 2: Complete projects
Tinkercad has added so many great resources and projects. There are almost 40 options for projects. Your job is to select and complete 12 of them.
Tinkercad projects can be accessed by clicking the 'learn' tab on the top right of your screen and then clicking the 'projects tab'
Please note: Additional Tinkercad projects can be found HERE (you can choose to do those in place of some of the ones from Tinkercad's site)
Tinkercad projects can be accessed by clicking the 'learn' tab on the top right of your screen and then clicking the 'projects tab'
Please note: Additional Tinkercad projects can be found HERE (you can choose to do those in place of some of the ones from Tinkercad's site)
Assignment 3: Learning the Essentials
Before starting on your own designs, it is important to understand key factors that will make a design successful to print. The following videos that are attached are all quick to watch but will go over important things to keep in mind with your designs. Once you have finished watching (it will take no more than 15 minutes) please respond to the questions that are posted below them.
To submit your answers:
- Type them in Word, Wordpad, or Google Docs and then copy and paste them into Schoology in the submission box under the "daily grade' assignment for the day it will count for.
Videos:
To submit your answers:
- Type them in Word, Wordpad, or Google Docs and then copy and paste them into Schoology in the submission box under the "daily grade' assignment for the day it will count for.
Videos:
| 1_-_overhangs.mp4 |
| 2_-_bridging.mp4 |
| 3_-_wall_thickness.mp4 |
| 4_-_orientation.mp4 |
| 5_-_tolerance_v2.mp4 |
| 6_-_engrave_and_emboss.mp4 |
| 7_-_bed_adhesion.mp4 |
| 8_-_fillets.mp4 |
| 9_-_sharp_and_narrow_points.mp4 |
Questions:
1. What is an overhang?
2. What is bridging?
3. What happens when you bridge large distances without support material?
4. How is it recommended you draw your walls?
5.How should you orient models for 3D printing?
6. What would most likely happen if you try to slot a 3D printed cube that is 10x10x10mm into a 10x10x10mm hole?
7. What size are holes generally printed relative to the size they were designed?
8. What should you do when engraving or embossing details onto a model?
9. How can you ensure good bed adhesion?
10. What can happen if your model has a small surface area touching the print bed?
11. What are fillets helpful for?
12. How can you help cool sharp and narrow points to reduce deformities from heat?
