Watch the following videos for an introduction to what 3D printing is and where it might be moving in the future...
|
|
|
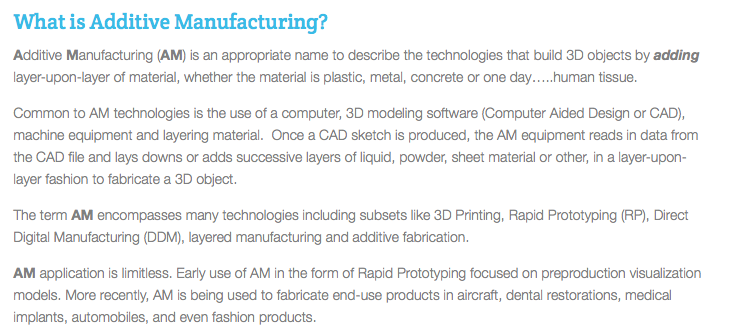
What is Additive Manufacturing?
|

|
PLA is one of the most common types of filament.
PLA (PolyLactic Acid) is a biodegradable plastic. It is made from renewable raw materials such as cornstarch or sugarcane. Aside from 3D printing, it is typically used for packaging material, plastic wrap, plastic cups and plastic water bottles. It is considered to be more ecologically friendly than other forms of filament – after all, it’s made from plants.
PLA is brittle and has a higher surface hardness. It is more prone to break when bent. Objects made from this material can be cut, filed, sanded, painted, and bonded using adhesives.
Taken from https://all3dp.com/pla-abs-3d-printer-filaments-compared/
Ready to begin 3D printing?
- Visit www.tinkercad.com and either create your own account or ask for the class login.
- Take lessons 1-6.
- After each lesson ask a teacher to mark the lesson complete.

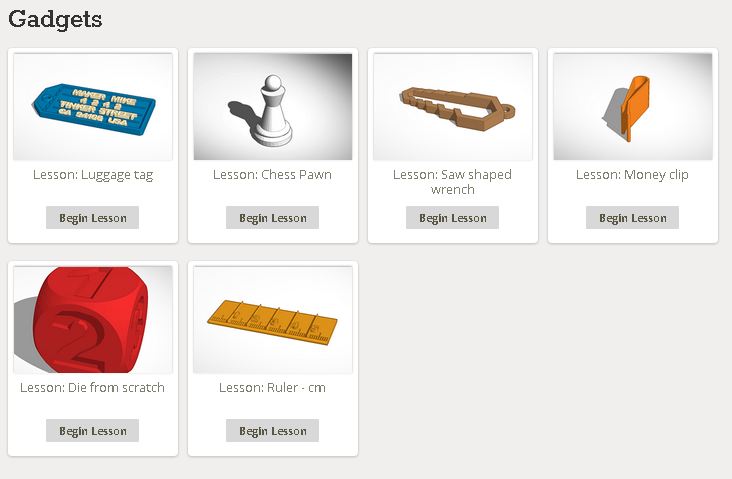
Tinkercad Assignments
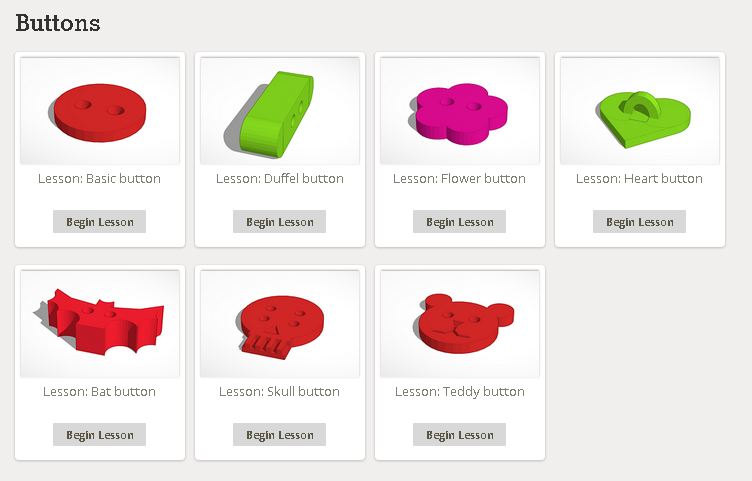
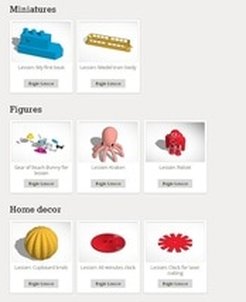
After you complete Lessons 1-6 make sure you are on the "Learn" section of Tinkercad and click to view more lessons.
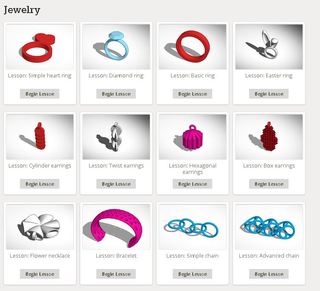
Choose 5 designs to create from each category below. Make sure to customize each design!
Submit a screenshot of your finished products to Engradepro.
Submit a screenshot of your finished products to Engradepro.
|
|
Create a Snowflake!
Follow the video tutorial below to create your own snowflake. Be creative!
Create a Full Train and Locomotive!
Directions:
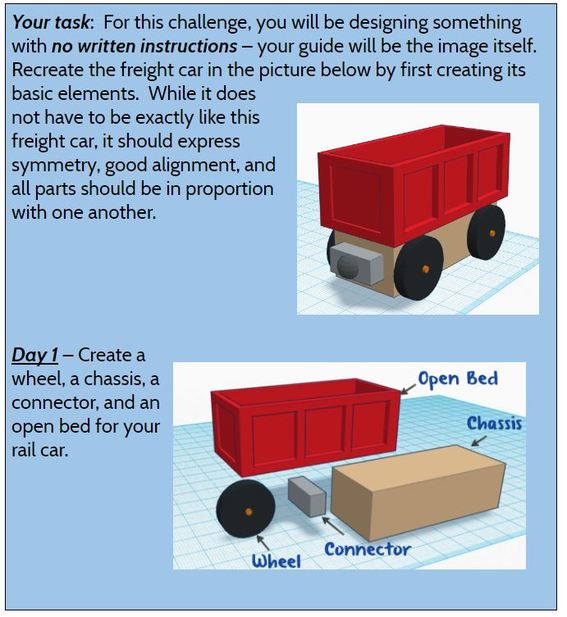
Step 2: Create your freight car and a row of freight cars

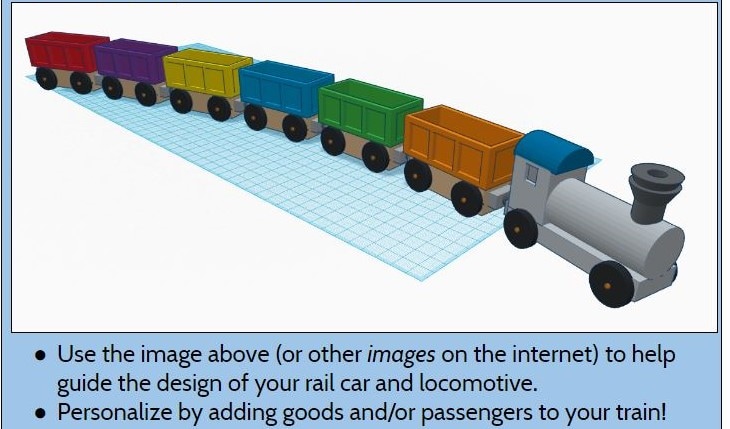
Step 3: Create a locomotive
Design Challenge!
Directions:
You are now ready for the challenge! You must complete steps 1 and 2 before starting your 3D designs in Tinkercad. Review all directions carefully.
Step 1: Select Your Challenge - Sign-up for two of the design challenges in Step 1 with your teacher.
Step 2: Get Prepared- Plan out the specifics of your design.
Step 3: Start Designing - Use Tinkercad to bring your design to life.
Turn-in: Completed your design?! - Turn-in your final design on Engrade.
Step 1 - Select Your Challenges:
You will be selecting 2 of the 4 design challenges below. Register for the first challenge with your teacher and move onto Step 2.
Option 1: Functional Case Challenge |
Option 2: Fashion Challenge |
Design a device case that can be used for more than one purpose.
Option 3: Toy Challenge
Add a personal spin to a classic toy or create a unique toy that has parts that can move or detach.
|
Design a unique object that can be comfortably worn.
Option 4: Ability Challenge
Create a design that can be added to an assistive device or that can be added to a commonly used object. These designs should make something easier to use or make an activity easier to do.
|
Step 2: Get Prepared: Brainstorming
Plan out exactly what you want to do for your challenges. See a teacher if you would like a brainstorming sheet to fill out (to help organize your ideas).
Step 3: Start Designing
Use Tinkercad create your objects. All projects should use 3 or more shapes to create. You will be graded on how well you met the requirements of your challenge and how well you used the resources in Tinkercad.
- Create your own object from scratch or you can use a template from the Tinkercad Gallery to get started. You may also find templates on Thingiverse.com
- Add a personal touch by adding shapes and holes to your design.
- Refer back to the Tinkercad Gallery for objects you may need to complete your design.
Turn-in Your Completed Designs
- Use the snipping tool or take screenshot of the front, back, top, bottom and side of each 3D model.
- Create a PowerPoint that has a title slide and 1 slide for each screenshot taken.
- Add your name and the object name on the title slide
- Label each slide in the PowerPoint to match each screenshot taken. (Front, Back, Top, Bottom and Side)
- Hand in your PowerPoint on Engrade in the Design Challenge PPT Turn-in.
